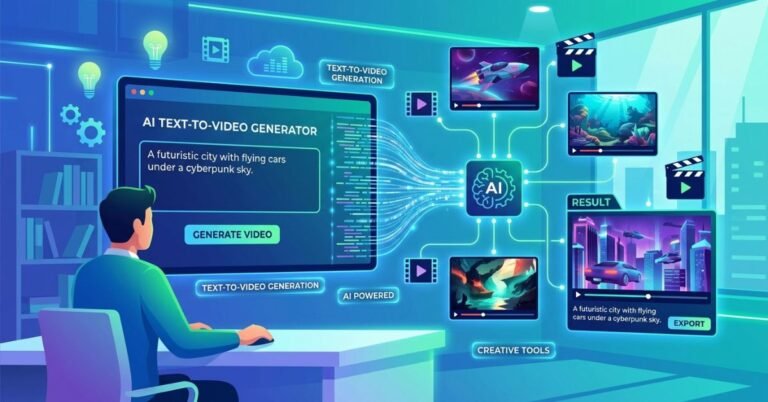
A Beginner’s Guide to Adopting Image to Video AI: Practical Steps and Repeatable Workflows
Here’s a realistic, experience-driven guide to adopting Image to Video AI without the hype. The aim is to help beginners build confidence through small wins, steady iteration, and workable routines—so your “photo to video” experiments become repeatable output instead of one-off luck. Below is a structured overview you can put into practice.
🧭 Context & Approach: From First Tests to Reliable Output
Newcomers typically enter Image to Video AI with a simple plan: take a few images, create short clips with basic camera movement, transitions, and maybe music. That’s a perfect entry point for online image to video tools, but early attempts often reveal a few patterns:
- First drafts rarely match the mental picture. Text prompts need refinement; camera motion may feel too fast or flashy.
- Expectations require calibration. A five-second clip can validate feasibility but won’t carry complex storytelling.
- A repeatable workflow is the real win. Consistency beats occasional “wow” moments.
Let’s break this down by stages—how beginners actually approach Image to Video AI, the common misunderstandings, and practical SOPs you can adopt.
🔍 Early Stage: Build a Minimal Viable Loop
Your first goal isn’t perfection. It’s running a complete “image to video” loop end-to-end.
Practical Path for First Runs
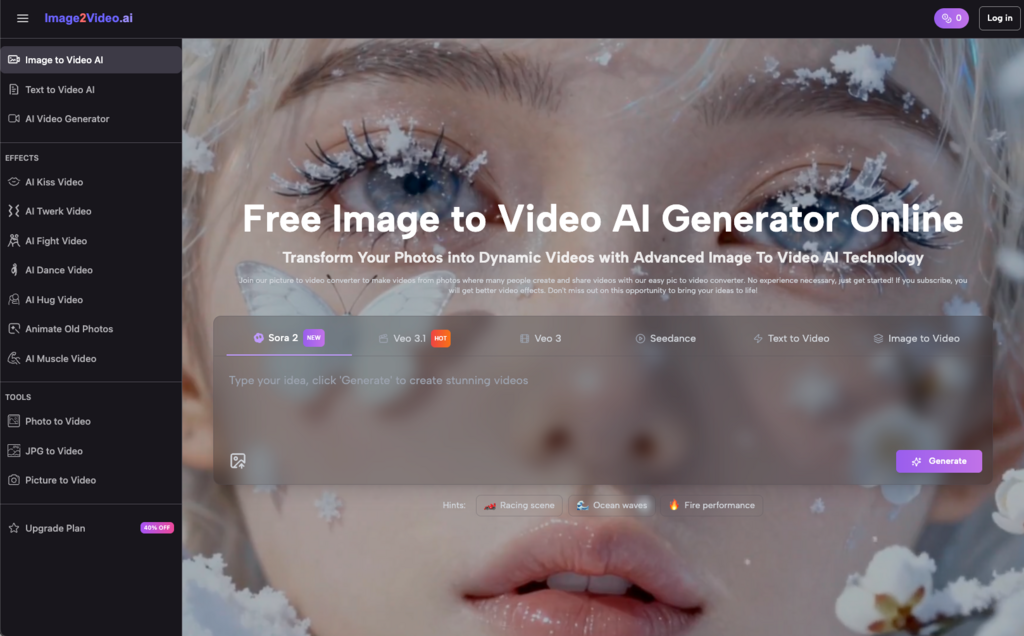
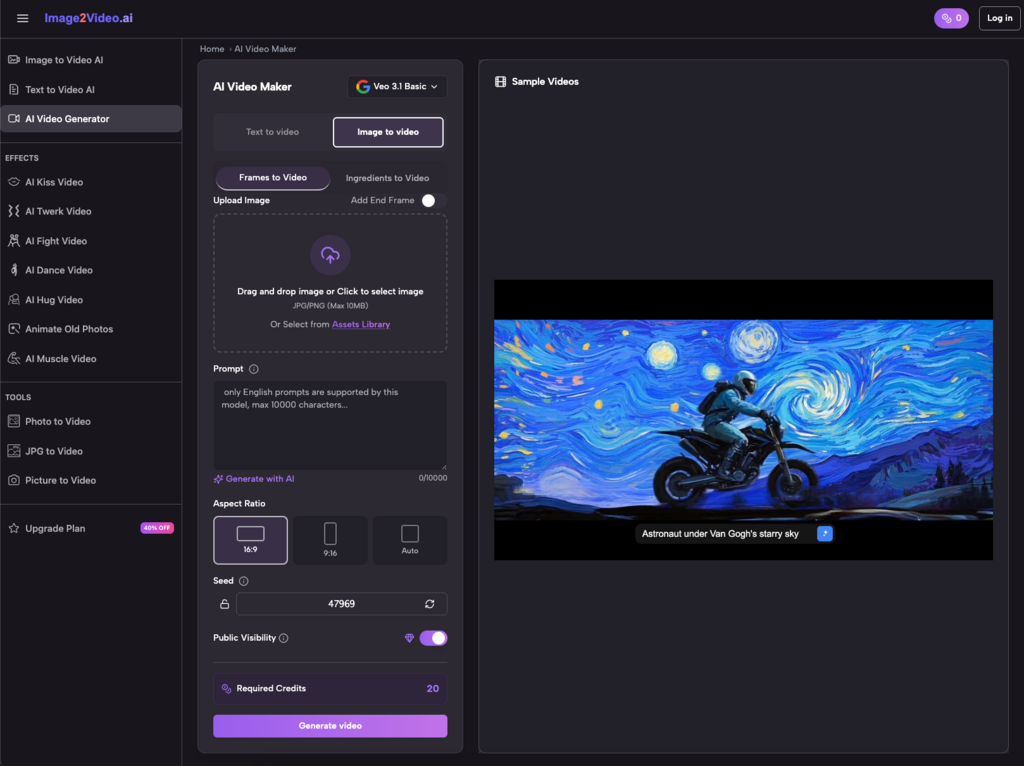
- File prep: Start with a single JPEG/PNG. Keep it simple. Output is typically MP4, which works across platforms.
- Prompting: Describe your intent in plain language (“slow push-in, slight tilt, minimal transitions”). Focus on 2–3 key directions per attempt.
- Processing & review: Expect a few minutes of generation. Watch for camera movement (pan/zoom/tilt/rotation) and whether transitions match your prompt.
- Export & archive: Download your clip, share as needed, and save the original result with notes for future reference.
In my first “travel photo micro-clip” tests, the camera often felt too energetic. I dialed down movement speed, used words like “subtle” and “smooth,” and trimmed effects to keep attention on the subject. This alone made results feel more intentional.
Quality Baseline for Starter Clips
- Stable motion: No distracting wobble or stretched frames.
- Logical movement: Natural start/stop, restrained intensity.
- Clear subject: No text or transitions hijacking the focal point.
- Fit the format: Five seconds should convey one action or mood—not a full story.
🧪 Iteration Strategy: Modular Tweaks, Not Total Rebuilds
As you move beyond “try once,” make iteration modular—so you improve without redoing everything.
Modular Thinking
- Asset module: Lock the main image; if you swap, keep scene and lighting consistent.
- Camera module: Test one movement change per round (e.g., add a slight rotation to a push-in).
- Text module: Trial captions separately—none → minimal → adjusted placement.
- Music module: Validate visuals first, then layer music. Check that motion and beats don’t clash.
Micro-Tuning Checklist for Each Pass
- Camera path: Are push/pan/tilt/rotation speed and amplitude appropriate?
- Transition count: Can you reduce from three to one without losing impact?
- Safe areas: Do captions or stickers block the subject? Are edges cropped?
- Color/contrast: Any abrupt flicker or harsh shifts during movement?
- Export settings: Bitrate and resolution aligned to target platform?
🧰 Beginner-Friendly Presets: Conservative Settings Win Early
These settings boost “first-try” success rates without fancy tricks.
Conservative Preset (Core Visuals)
- Camera: Slow push-in or very slight pan
- Transitions: None or a single fade in/out
- Color: Keep original tones, avoid heavy filters
- Captions: Short lines, placed in safe zones
- Music: Light tempo, low volume—supportive, not dominant
When to Level Up
- Subject clarity is reliable: Introduce gentle tilt or rotation.
- Mood needs emphasis: Try subtle color grading or light effects.
- Rhythm matters: Align a small number of transitions to beats.
📈 Real Trade-offs: Time, Budget, and Energy Shift
Image to Video AI doesn’t erase effort; it redistributes it.
What You’ll Likely Save
- Manual keyframing for simple motion and baseline transitions
- Repetitive setup work across small batches
- Time to test “concept visualizations” before full edits
Where You Still Invest
- Prompt clarity and review discipline
- Version control and parameter tracking
- Style consistency and editorial judgment
In practice, automation boosts starting speed and reproducibility, while you still own taste and cohesion.
🧭 A Practical SOP: From First Try to Repeatable Workflow
Here’s a simple, repeatable process beginners can use right away.
Phase A: Prep & Input
- Select images: Clear subject, simple composition (JPEG/PNG).
- Naming: Project_Subject_Version for organization.
- Prompt template: Camera (“slow push-in”) + Subject (“keep centered, sharp”) + Style (“natural color, soft fade”).
Phase B: Generate & Review
- First pass: Limit to five seconds to minimize variables.
- Quality check: Stability, subject clarity, movement restraint.
- Log results: Save prompt, parameters, and preview notes in a table.
Phase C: Micro-Tune & Export
- Single-variable changes: Only adjust speed, or only change transitions.
- Threshold for approval: Clear, coherent, recognizable subject.
- Export with parameter notes for future reuse.
Phase D: Reuse & Scale
- Template your best camera paths and caption styles.
- Batch-generate with swapped images; spot-check outputs.
- Stitch segments in an editor, unify music and tone.
🧠 Personal Notes from Repeated Use
A few practical lessons that kept delivering across different projects:
- Slower looks better more often. Halving movement speed cuts errors dramatically.
- One variable at a time accelerates learning. It’s easier to pinpoint changes that matter.
- Stability beats spectacle. Consistent camera grammar raises the median quality of a batch.
- Leave visual space. Respect caption safe zones to preserve subject clarity.
✅ Key Takeaways and Next Steps
Adopting image to video is an evolution from uncertainty to repeatability. Start with a minimal viable loop, iterate around camera–subject relationships, and convert successful parameters into templates. For practical momentum:
- Run one five-second test to validate clarity and natural motion.
- Use conservative presets, and record what works each round.
- Layer transitions, music, and stylization only after the base looks stable.
Treat the tool as a rapid prototyping assistant: image to video automation speeds up first looks, while photo to video workflows help maintain cadence. The real polish comes from your restraint, templating, and editorial taste. With steady practice, you’ll find that clearer prompts and disciplined camera movement help Image to Video AI produce clips that consistently match your intent—and that’s the moment beginner uncertainty gives way to confident, repeatable creation.